7 Tips to Prepare for Winter Watering
Winter – it comes every year and in some places in Canada it seems like it never leaves! Providing clean, fresh water to your herd year round can have its challenges if your watering set-up isn’t designed for worry free and energy efficient operation. To prepare for winter, here are 7 things to consider when installing a new outdoor watering station.
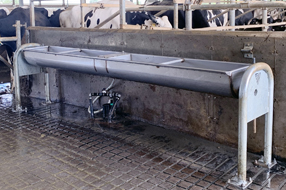
1. Large, open stock tanks can experience maintenance issues and excessive operation costs, as they are difficult to drain, clean and maintain year round. During the summer months stagnant, dirty, warm water creates the perfect breeding ground for bacteria. During the winter, you are now faced with keeping hundreds of liters of water from freezing. The high wattage, submersible or floating heaters have to run non stop – often only keeping a small portion of the tank open as the cold freezes the outer, unprotected water edge.
2. Running your water supply to the water station underground is always the best option. Above ground systems require heating cables and insulates the length of the water line. While this may seem like a lower cost option than trenching in a line, the operation costs of the heat cable will add up over time. You still run the risk of the line freezing during a power outage or cable failure. By trenching in underground, natural heat from the ground keeps the line from freezing and ensures (when done right) that you never have to worry about the supply line to the bowl.
3. Use a 10”-12” plastic or steel culvert when bringing your water up to the tank from below the frost line. This will allow the natural heat from the ground to come up along the water line to your bowl. This eliminates the need to insulate or heat the waterline anywhere below ground level.
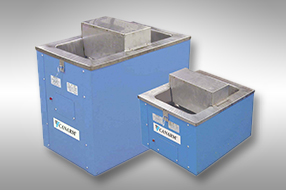
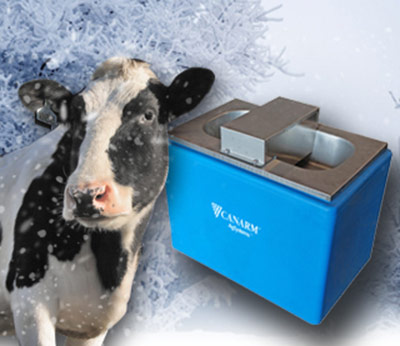
4. Choose an insulated cabinet style stock tank with an auto-fill valve. By running the waterline as mentioned above, and then capping it with an insulated cabinet, you can harness the underground heat source that is coming up through the culvert. Pouring a concrete pad that seals against the tank will also ensure minimal heat loss.
5. In Canada – the heat from the ground is only a portion of what you will ultimately need. Most cabinet style tanks come with an electric heat source. Ensure the one you choose is thermostatically controlled to run only when required to keep your water from freezing. The heating element should be inside the cabinet to ensure that the water line is kept warm (and not just the water in the bowl). Look for a combination of a high R Value cabinet paired with the lowest wattage element as recommended for your climate zone.
6. Make sure the tank you choose is easy to clean. Stainless steel tubs will never harbour bacteria and usually clean easily with a quick wipe. Hinged bowls that dump quickly will also expedite cleaning. A hinged top allows for easy access to the cabinet for any maintenance that may be required.
7. Lastly, don’t forget spare parts. There are always a few extra parts for your bowl that should be kept on the farm – especially if you have a number of stations. A faulty valve can create a soupy mess in the summer or an ice castle in the winter around the bowl in a hurry. A blown element or thermostat, means the freezing process can start and with each hour left unchecked it becomes harder to unthaw. Guaranteed the day the bowl needs repairs it will be snowy, blowing and frigid. Running to town and searching for parts eats up valuable time, not to mention the stress it puts on you and your animals.
Water is a vital part to any farm. Setting up a system that will give you worry free, year round operation takes planning. By following some of the tips above you will be on your way to doing it right the first time. Don’t leave that planning till the snow is already here – winter is coming – it always does!


